 Progress: There are a variety of ways to approach DIY projects. For this section of blogs, I have decided to make some of my own homemade useful items that can be used around the house. My goal for this was to look for cheap ways to simplify the work because nothing is better than making it yourself for a lower price at the store. Not to mention that it is more fun to set up everything, work, and end with a result you may absolutely love; rather than driving to the store, looking for the item, get in line to pay, then drive back. Also, doing DIY projects is another way to pass time rather than being on the phone or computer all day. There are various types of household items that can be homemade: room decor/necessities, cleaning, kitchen, etc.
Reflection: I summed up the pros and cons of making your own room decor and cleaning products right at home. To reflect on those sayings, I will give my personal opinions on whether store bought or DIYs are better for each type of household item. As for room decor and other necessities needed in a room, I would prefer making my own products because I can get creative and make them my own. They will represent my style more than just getting it off the shelf at a store. Although the quality of my DIY product may not be as good as one from the store, but I like knowing the fact that I made it with my hands and creativity. On the other hand, I would prefer buying my cleaning supplies only because I would know that they work. With making my own cleaning products, I will not know whether or not it will clean my house or clothes. Especially with DIY laundry detergent it is hard because I may not know if the clothes will come out clean and smelling nice. Therefore, I would rather buy my cleaning supplies rather than making it myself. It may be cheaper, but with buying it I know what I'm getting myself into. 
0 Comments
Progress: Pens can be really boring sometimes... but wait, now you create your very own fashionable pens! It may take a couple of tries, but the results are spectacular! This week, I decided to make one fashionable pen, due to short supply of gel pens. Supplies
 Step 1:
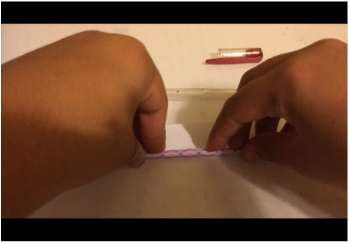
Reflection: I found this project to be quite interesting. I've actually never thought about doing this sort of project. When deciding what to do, I decided to make this because in my head it looked super easy and quick. Unfortunately, that is not what exactly happened. The thing with this DIY is that it takes precision and preciseness to get it right. As stated in Step #2, the piece of paper must be rolled. The catch is that the paper must be rolled up extremely small because if it's too big, it won't fit into the pen case. My first try came out to be a disaster because once I got to the end of inserting it back in, the top would jumble up and not allow the rest of the ink cartage to go back in. After approximately three attempts, I finally went through the complete process. It might of have taken me more time than I thought it was going to take, but in the end I really loved how it turned out.
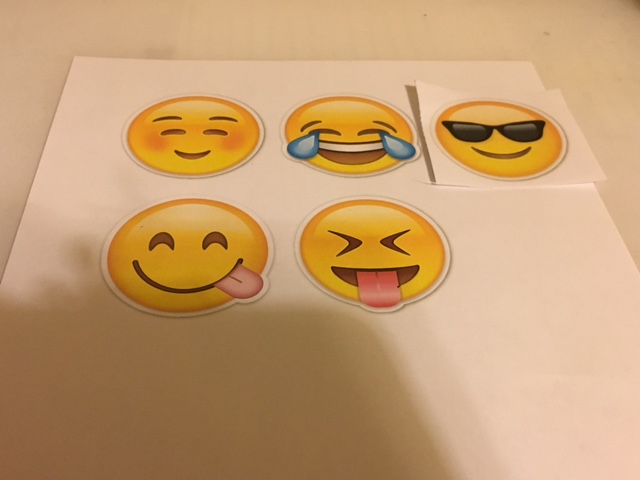
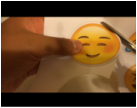
The paper strips can be any pattern or even possibly a photograph of somebody or yourself. It won't be quite visible, but it is completely up to you. That is exactly how one's creativity is opened and expanded. When choosing or drawing the design, one's creativity comes out and is represented in the pattern or image they chose/drew to use. Which is why I chose to create this fashionable pen for this blog update. All in all, I would have to say this DIY project came out to be quite a success! :) Progress: This week, I have decided to create fun divider tabs that can be used for anything! Today, I chose my tabs to be emojis! I will be going through step by step and what is needed to create yourself this at home as well! Supplies
Reflection: In my opinion, this DIY school supply is easy and efficient! It was not only super fun to make, but the result came out great! The great thing about these DIY dividers is that they can be anything! I only picked emojis because those are my favorite. With the result of this project, I would definitely make more for my other dividers. I would highly recommend these for everybody because white labels are boring; we should all just have fun tabs like these.
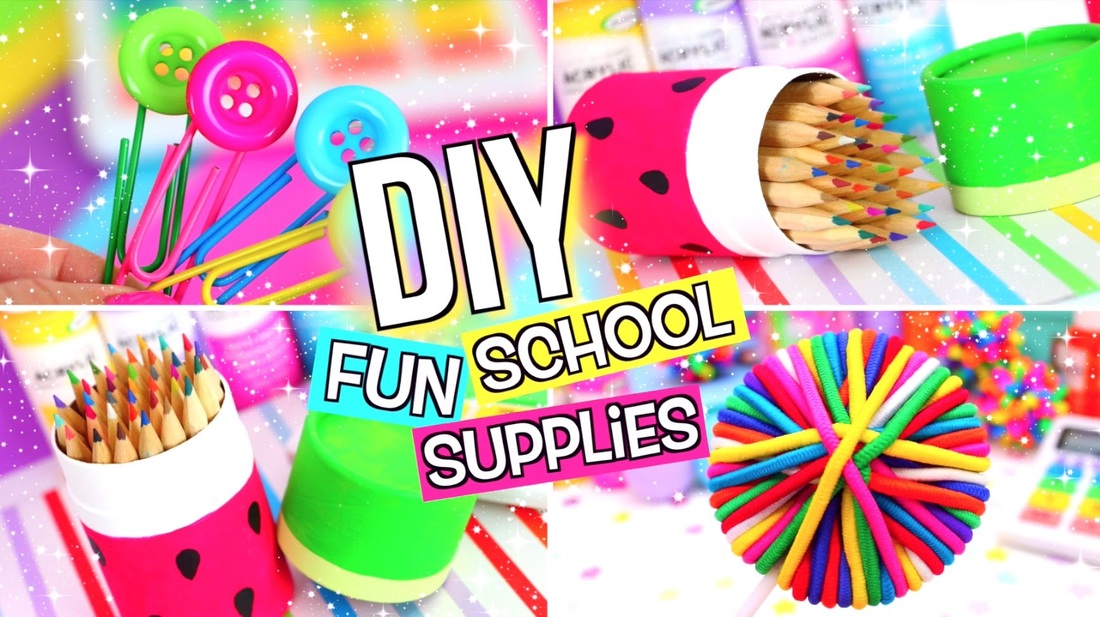
The way I expanded my creativity through this project is that I had to think about what I really liked. It had to be something that I would be able to look and admire for an entire school year. Therefore, I thought about what makes my creativity flow and what I find amusing and happy. To add on, the images don't have to be printed off the internet! If one shares their creativity through drawing, than they are more than welcome to do so because that is their way of expanding/sharing their creativity. Overall, this DIY project came out to be a success; just like how I had hoped for it to be. Progress: Just a heads up, I am not the biggest fan of watching DIY Youtube videos, but I took the chance and watched a couple of videos. Hence why I decided to have my entire website mostly based on DIY projects. I thought to myself, "Why not watch a couple of these world known types of videos and get some inspiration for this blog?" The first video I came upon is below! I chose this video not because of who made it, but because the title and thumbnail seemed appealing to me. I was also searching for something easy to do this quarter in the hope to build my way up as the year goes on. While watching the video, I just jotted down some notes in my head to see what kind of projects I can do myself for school. I got a couple ideas of what I may do for a blog I will post later.
The second video I watched today is also imaged and linked write under this text! Unlike the the other video, this Youtuber created her DIY projects in relation to the colorful and fun theme she had chosen to do. Which is great because it keeps her video organized and doesn't get her off track. I also jotted down some pointers for my upcoming posts in which are soon to come.
Reflection: In the end, I didn't really mind watching a couple of videos to get my creativity up and running. However, they are still not my favorite genre of video out there. After watching not only these two videos, but others, I realized that a lot of time and effort- for some of them- is put in to make these types of projects. It takes creativity to think and make all of the different projects possible. Therefore, by me making and creating my own little and fun projects, I will expand the limits of my creativity/imagination to make this blog site fun.
Now to reflect on these two videos, I would have to pick the first video as the most helpful. Here's why; her projects were all very simple and inexpensive to do! Also, her supplies can be used by anyone. Whereas the second video is based on a colorful and lively theme that may not suit everyone. In other words, Sarah's video is more for a general audience. As I said before, these types of videos are not my favorite, but I don't mind them. I actually think they are only fun to watch because the creator of the video can give others some ideas on how to make school more fun. Overall, all the videos that I watched over time have helped me expand my creativity a bit more to create my own school supplies right at home. |
AuthorWrite something about yourself. No need to be fancy, just an overview. Archives
May 2017
Categories |


 RSS Feed
