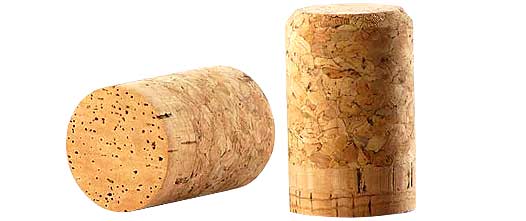
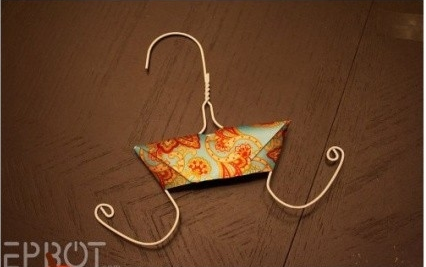
ProgressOut of all the projects I've presented to my audience, this project requires the most effort. However, the finished product is great and gives you a sense of accomplishment when finished. This project does require some more items, but they are not hard to find around your home. It does take a while to complete, but not too long. What you will need most for this project is commitment, time, and patience. Without further ado, here is how to make your very own travel sized checkers set! What You'll NeedIn detail: - one piece of printer paper (8.5x11in) - 13 corks - 2 colors of paint - 2 different colored coloring utensil NOTE: The 2 colors of the coloring utensil and paint must be the same. Step 1 (game pieces) The first thing you'd want to is cut each cork in half to have a total of 26 cork pieces. These corks will work as your game chips. They are the most efficient to play with because they are not too light nor to heavy and easy to find if one is lost. You will have one extra chip of each color in case one is lost. I advise the best way to cut them is by using a knife. Please be cautious while performing this task. It is best to have someone with control of a knife to do the task if you are unable to. Corks are the easiest thing to break, so please be careful!! Now that you have your 26 game pieces, you are going to paint 13 of them one color and 13 of the other color. I chose to do orange and a pink. After painting let the pieces dry for at least 1 hour; to make sure they are completely dry. Step 2 (game board)Then, while your chips are drying, it is time to make the checker board. This is where your paper and coloring come into play. What you'll need to do first is cut your piece of paper into an 8x8in square. Next, mark 16 1 inch squares onto your square paper. Now that that is done, you will need to color every other square a different color. Please feel free to look at my sample to make sure you did it right!:)  There You Have It! (Reflection) This is personally my favorite project out of all of them because it takes me back to elementary school where we would play board or card games inside during recess for rainy day schedule. I remember making a version similar to this when I was in 4th grade. Instead of using cork pieces as game pieces, I was able to mold may own pieces out of clay and have them harden in the kiln. Then once they were done hardening we then continued by painting each piece. I specifically remember that I chose red and blue and my two colors. We were fortunate enough to have our game boards laminated so that they wouldn't get as dirty. I decided to remake it because coming towards the end of junior year and senior year really makes me want to go back to elementary school. I of course made a more simpler and less complicated version of it because I do not own molding clay or a kiln. The items I used were easily accessible to me so the preparing process wasn't much of a struggle. This project doesn't have to be a one man job, many people can all work on it and have fun with it once it is complete. That is what it is for, to have fun with it! Also the coloring and painting makes the process even more fun because it'll remind us all of those good days when we were young. After I made this I decided to teach all of my 3 younger sisters how to play checkers. It was a great bonding moment between the four of us. I've been busy with school because of all the AP tests and other quizzes; so that time spent was especially special to me. I hope that once you make this project you too will date back to the days when board games were cool and everybody wanted to play them during school. Have fun with it! 
0 Comments
Progress"The struggle is real with these tangled earbuds!" Have no fear! I've got the solution for you! This is possibly the most affordable, easy, and useful DIY project that everyone needs to make! This earbud holder is a life saver. Anyone who owns a pair of earbuds could use one of these miracle workers. The process is simple and the result is far more important. I promise that there will be no regrets after making this project. 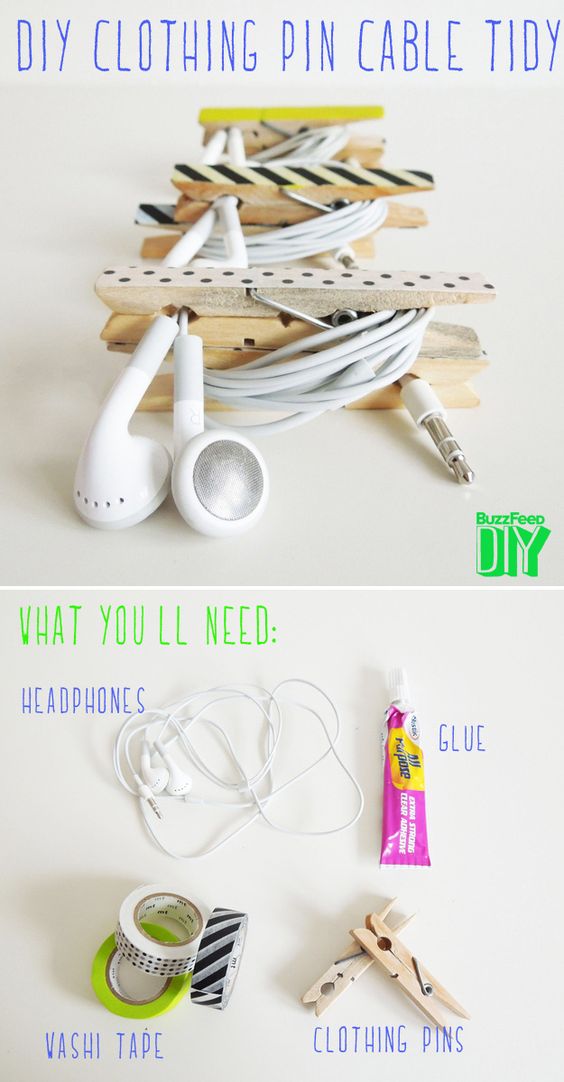 Just by looking at the image, one could easily make one! I decided to make my own copy of it to try it out. I found all of these items in 5 minutes! That proves how fast and easy this project can be.  Here are my two clothes pins that I decorated. Did you notice the floral tape from my last blog? This tape has become so useful to me while making these DIY projects for school! A fairly decent size of both of these types cost me a total of $2 at Target. Decorative tape can be found at any store, the tape with the best quality can be found at your nearest craft store. I simply taped one side of two clothes pins because then they will be glued together so that they stay intact and keep the earbuds untangled.
Reflection Honestly, this is possibly the most useful project that can become useful to everyone! We've all been there when our earbuds are tangled and we're struggling to untangle them. This project is simple and very affordable.
It's been about 5 days since I made this wonderful piece of art let me tell you, it's changed me. Before I used to throw my earbuds into my backpack or purse without knowing their conditions. Now, I know that they will always be ready for me to use. Getting them from my backpack has made it easier and convenient compared to when I didn't have this. Forget about those $7 dollar bendable wraps and other pricey "advanced" tech organizers. Get yourself your very own personalized one for less than $5!! Not only is it cheap, but it's easy to make and great quality. It is also a great way to organize your backpack or any other carry on accessory. Not to mention, clothes are not that large, so they'd perfectly fit in your pockets. What is so great about this project is that teenagers to adults can benefit from making it. It doesn't hurt to create something that could help with so much in the long run. Progress Welcome back to another fun DIY adventure! These next three blogs will feature fun, easy, and affordable projects that can be done right from your room. These projects are not based on a certain type of DIY, but more for everyday use and creativity. This first project can become useful to anyone with a phone! It's easy because almost everyone owns everything needed to make this phone stand. It's convenient and fun! There is no way that anyone could reject on how creative this idea is and how it can be accommodated to everyone's desires. As the Jackson 5 would say, "It's easy as one, two, three." Step 1
Step 2
Step 3
Step 4
Reflection I am very happy and amazed with the finished product. I've used it a couple times since I made it and it is really coming in handy. I use it to review my notes, Facetime, and other tasks where I'd have to use both of my hands but refer to my phone at the same time. Once it gets used a couple of times, the cardboard roll will start to give out and start collapsing at times. I will say that it is most certainly not the best quality stand, but it'll get the job done. A con about this DIY project is that a toilet paper roll most likely can't accommodate those with a plus sized phone. However there is a solution, instead of a toilet paper roll, one can use the longer tower rolls. Of course more tape and push pins will be needed in order to keep the entire roll stable. To some, this project could seem more girly than anything else. Although my example that I made does have floral tape on it, any style or printed tape can be used! It is the purpose of the project that can become useful to anyone. There are always those times when both our hands are busy, so this phone stand can solve those problems. MORE IDEAS!!Here is a link to several other DIY projects that are useful to all cellphone users!!
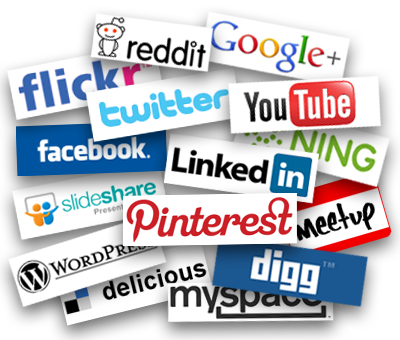
www.gurl.com/2016/05/07/diy-cell-phone-accessories-stands-holders-cases/ ProgressI know having to commit to learning how to play a new instrument or learning about the basics of art can be tough; no need to fear because there are easier ways to show your creativity. It may not necessarily be shown to everyone you'd want to see it, but those close to you can. What really matters is you being able to showcase that creativity you got in you. Social Media
 Right at Home Now here is where DIY projects come into play. DIY, do it yourself, is another way to say that YOU are the creator in which you'd be able to make it original as you'd like. Simply decorating your room can definitely be an easy way to express your creativity. It can be the most affordable as well. By decorating your room, you get to see your view on things everyday and remind yourself that it's okay to be you. Decorating your walls isn't the only way, the placement of your funiture is also another way to show creativity. You can get creative by placing certain things that show how YOU visualize things. Along with the DIY projects, you can make bookshelves to drawers to show creativity. There are limits to decoration and design, it's a simple way to get your creativity out there. Reflection These alternative ways to express one's creativity is simple and memorable. The simple part of it is that one does't need to go through any approval since they aren't working with a big company or doing it to improve who they are working for, it benefits them. It proves to them that they can be creative in their own ways without any judgement from anyone else. They will feel proud of themselves for displaying their creativity where it belongs.
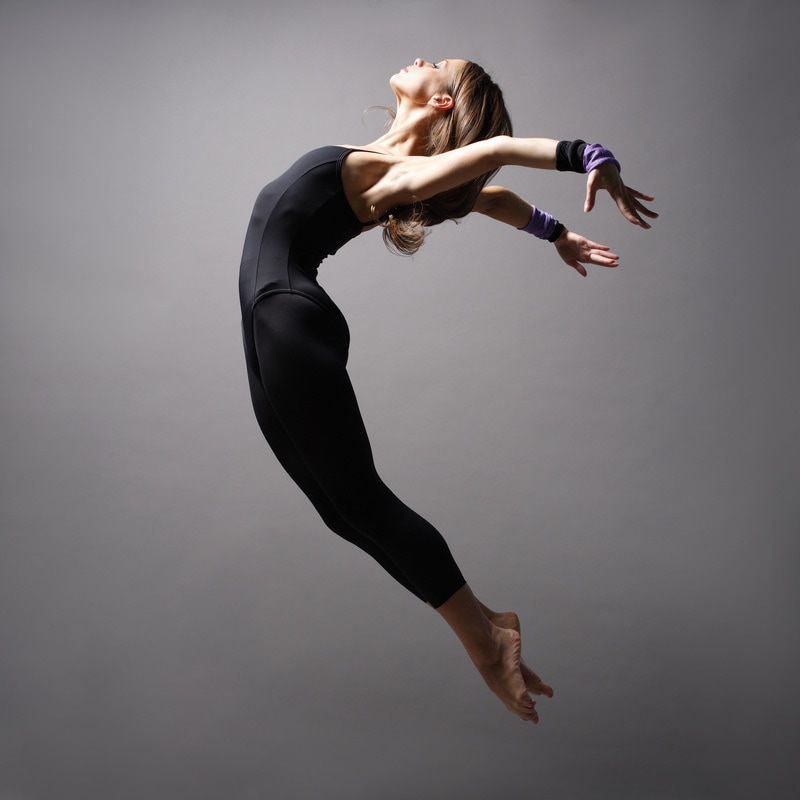
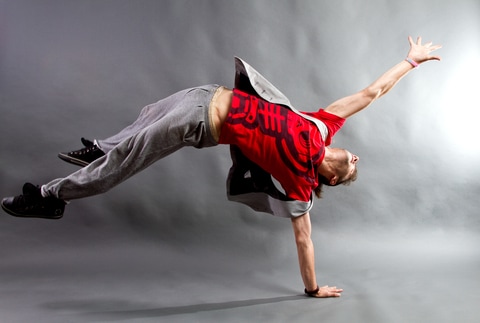
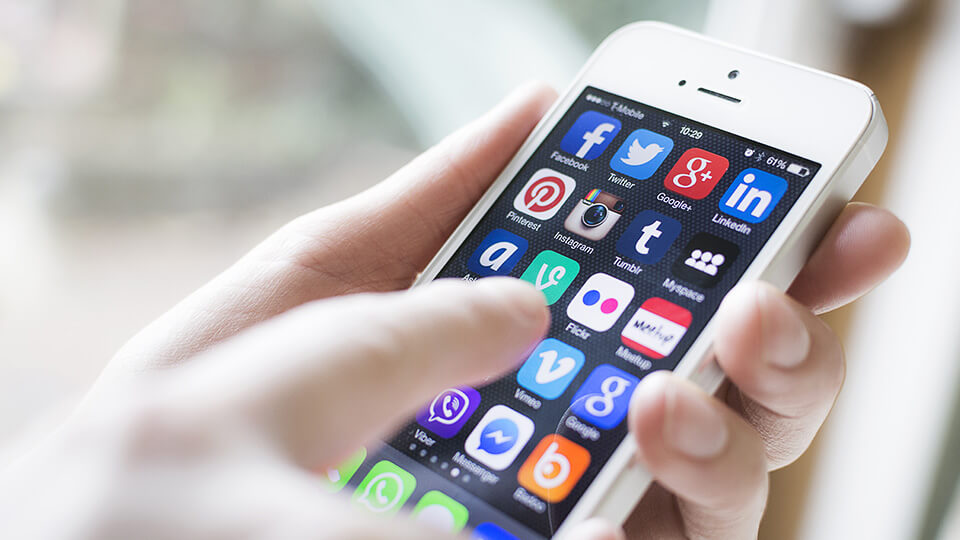
On the other hand, putting it on social media means the person accepts the opinions of others on their creativity. There is a difference, criticism is appreciated, but hate will not be tolerated. Of course everyone is entitled on their own perspective of different topics. When one posts about an idea they came up with to benefit whomever, they are committing to the consequences of posting their creativity. For them it is creativity, but others may see it differently. Despite the hate and unapproval, social media is another great way to show creativity. From how one edits their Instagram to how one may caption their picture, it is all creativity. ProgressVisual Art One way to showcase your creativity is through painting, drawing, watercolor, etc. This is a great way to express yourself because you get to do whatever you want. Whatever route your ideas take is your creativity. The colors can represent something special to you. The audience may or may not comprehend the message or argument of the art, but what truly matters is that you turned your imagination into creativity. DanceDance is also another art form that shows your creativity. Instead of using colors, you use movements and shapes to showcase your creativity. A particular style special to you can demonstrate who you are. By choreographing to that style lets others know how creative you can be with that style. The costumes also play a big role. They are what makes your idea come to life. Props also work just as great. They are fun ways to show your idea. Film Making
Music Music is an extraordinary performing art because there the field is so diverse and presents artist's creativity though rhythm. The different instruments that are each separated into different families represent the diversity. The particular sound each instrument makes, combined with many other instruments, create magic. Music is not all about instruments, but vocals and lyricists as well. Specifically a lyricist gets to show more of their creativity through the lyrics. Their creativity may be rhyming, rapping, or oprah. It all just comes straight from the heart. A musician gets to tell a story through the sounds of their instrument, loud or quiet. When combined all together, the amount of creativity put into one song is unimaginable. ReflectionSince I dance, I would have to go with the style of movement and expression as my presentation of creativity. It may not be easier than painting or drawing my idea, but my body will paint it for me. Through dance, especially through facials, I get to show who I am. Although I am not the best in choreographing, I like to suggest a couple movements to express my creativity. Choreography is a key component in the routine. The choreography tells the story, if there is one. The choreographer first visualizes what they would want to see on stage, then they work around it.  I also love to draw, but I am not the best at it. Usually what I draw isn't my own original piece because I like to redraw other things. I'm not really a free-hand kind of person. I also love to make short videos of special occasions my family and I have. I'd usually just film a couple of videos on my phone then when I get home I'd transfer them onto the computer and whenever I can I'd start editing. I only know how to edit the basics on iMovie, but it's a start.
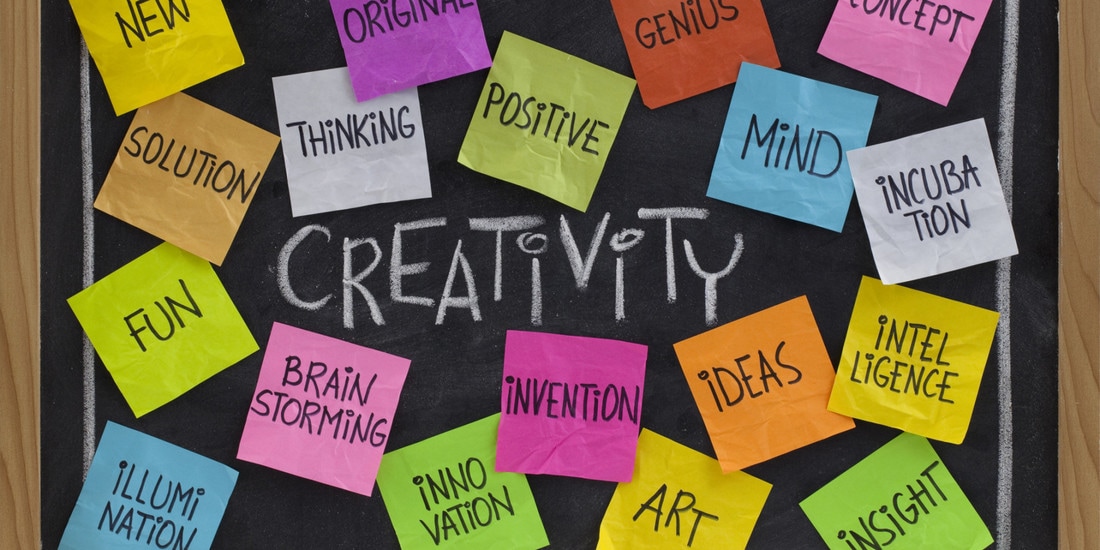
Progress: Coming up with ideas can be challenging at first. Luckily there are some ways to get those ideas flowing. I will be giving a few ways to spark up your creativity. All of them are nice and simple. All it takes is courage to put yourself out there. CollaborateCuriosity is always the way to go. This will lead to different opportunities and challenges. Whether you read or talk to experts about your topic, new ideas will appear. As you roam what everything has to offer, you may see the world through different perspectives. By seeing things in a new way, it leads to the expansion of your creativity. You may also start to see things in a new way. Do Something You Love
Just Do Nothing At times our brains tend to get fried up when we are overthinking or are just out of ideas. Taking a break is highly suggested. Sometimes your best ideas will come when you're not working with your brain trying to come up with the greatest idea. A nap or more sleep tend to be the most common ways to come up with new ideas. I certainly know that it works for me. If your creativity is lacking, relax; let your brain rest. Walk
Pick a Terrible IdeaJust as crazy as the last suggestion, but just as helpful. You could make a list of the worst ideas you can think of. Here comes the fun part, find the best features of those terrible ideas. Might sound hard, but it's a way to challenge your creativity. Perhaps looking at these terrible ideas will spark something creative that you can transfer over to your excellent idea.  ReflectionI find all of these ways to improve creativity very trusting. Everybody will encounter different results for each remedy, but that's great because that is what's so special about humans; we are all different. We all have different approaches to many things; hence creating creativity, where one can show off their ideas to others who might like them. My Personal Choice
My personal path towards creativity may be totally different from my neighbor's, but that's okay! It's all part of a process, create, collaborate, produce. The collaboration portion in creativity in very important because it is the time when you are putting yourself out there for others to see, in a good way! It's going to take some courage the first couple of times, but if you are really striving to get your creativity noticed, then go for it.  Progress
 Whether one is a farmer, factory worker, or a teacher/student, they can all show their creativity. Creativity gives one a competitive advantage by adding value to their service or product. Without creativity, there is no competition; it'll all be boring.
Here's a very Interesting Video to Introduce CreativityReflectionI really hope this video helped you understand what creativity is and how one may approach it. The way I describe creativity is being original and being able to show others what you have in store. No matter your age or career, creativity is always appreciated. Of course there is a limit to creativity in a career. For example, a doctor or someone in the medical field can't start making up these medicines or mixing up old ones to show their creativity. Personally, I suggest that if one is not very strong with creativity, deciding to major in art is going to be tough. Is it hard for me?I have mixed feelings about being creative. There are times where I just blank out and have no ideas on projects for school. On the other hand, I can come up with this amazing idea out of the blue and just go on with it. Where does creativity come from?I believe that everyone is born with creativity, but in their own special way. Of course at a young age it is hard to showcase what they are thinking about verbally or by writing. At an early age one shows their creativity by the way they play, eat, or get around certain obstacles. Therefore, I think that creativity is lost as one continues to age. The amount at which it decreases varies tremendously on the surroundings. For example, one may be the creative one of the family, but the family is very strict and doesn't tolerate that sort of foolishness; then the person is let down and starts to think that their creativity is useless.
Many are arguing about how some schools are not allowing their students to explore their own imagination and creativity. I agree that all schools should encourage their students to enroll in the different art programs the school as to offer. If by any chance the school does not have fine arts classes, then teachers should allow their students to get creative by wither writing a creative story line or by drawing in the classroom. Possibly a poster about themselves would work too!
Optional |


Supplies | 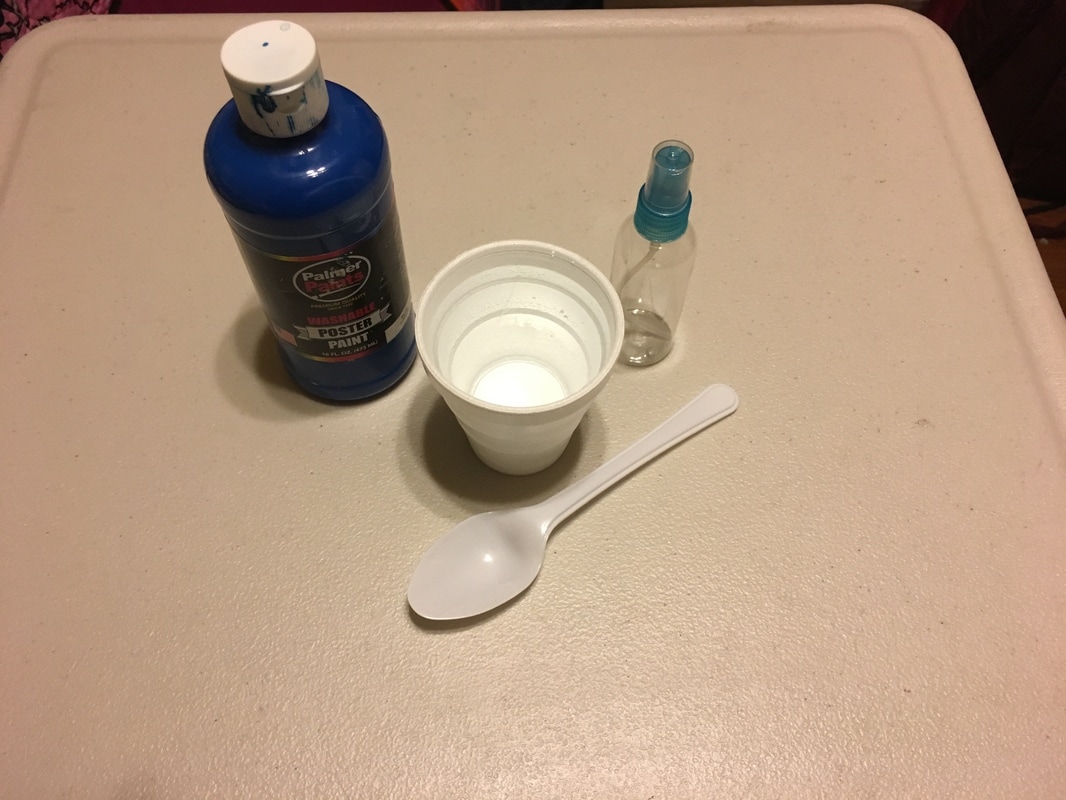 |
Progress continued: Now that the supplies are ready, all that is needed to be done is mix the paint and water. Please note that the solution must have 2 parts of paint and 1 part of water. In the following video I used 4 spoonfuls of paint and 2 spoonfuls of water. As I am pouring in the water it did get quite messy since my spray bottle was so small. With that being said, prepare your work area with plenty of towels or paper towels incase of an accident while making the spray paint. Enjoy this time lapse video of me making homemade spray paint!
Reflection: Despite the mess I made, I really love how it worked. Of course it didn't work as well as a spray paint can, but it is what it is. I noticed a huge difference between the two; smell. One knows when regular spray paint is used because it causes a strong smell to spread around. Whereas while I was testing out my own spray paint, I didn't have to worry about making the house smell because I did not mix any chemicals into my solution. Homemade spray paint is a plus because it has no smell.
To talk about the result, I was expecting my project to not work as well as the regular store bought spray paint. However I was a bit surprised on how well it works. Also, this homemade version is less harmful then the regular product. All the chemicals in the original project can be harmful for the lungs or brain. This is why I prefer to use my homemade product instead of harming myself. I will definitely be using this for future art projects.
To talk about the result, I was expecting my project to not work as well as the regular store bought spray paint. However I was a bit surprised on how well it works. Also, this homemade version is less harmful then the regular product. All the chemicals in the original project can be harmful for the lungs or brain. This is why I prefer to use my homemade product instead of harming myself. I will definitely be using this for future art projects.
 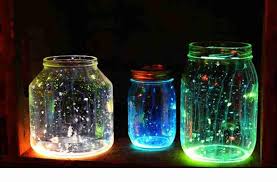   | Progress: While coming up with another fun project to do, I looked through my past and remembered all the fun projects I used to do at summer camp. We would make so many fun crafts. One specific craft we made during our space themed week, we made an intergalactic mason jar mostly for decoration. As one of my blogs I have chosen to recreate that memory and make another one! It is fun, easy, and cheap too! Now, you will be going through the steps I took to make this project. |
Supplies needed: |  |
Below is a short video on how to make it!
Progress continued: Although this jar may not be that useful in the house, but it is a fun decor piece that will bring the fun into any space. On a side note: for me this was not messy at all. To avoid mess, try setting down some paper towels before hand; that way you don't have to worry about having to clean up any spills. This project took me an estimate of 30 minutes to make. It does take some time to expand and place every cotton ball.
Reflection: As I said before, this is the most fun, yet cheapest DIY project to do for your home. I personally enjoyed this hands on project because it brought back memories of summer camp. Then I realized that this is something everybody can do rather than being on the phone or computer all day. This project was fun! I didn't notice how much time this was taking up, however I totally think it was worth every second. Almost all the supplies used can be bought at the 99 cent or dollar store. Not to mention how great the result turned out. All colors and the glitter is totally personal preference. I was going for a sky and space color scheme to make it more "galaxy". I will definitely be doing more projects related to this in the future. Choosing the different paint colors and glitter expands my creativity because I am thinking about what I like best and how to visually showcase it through my DIY project.
Author
Write something about yourself. No need to be fancy, just an overview.
Archives
May 2017
April 2017
February 2017
January 2017
October 2016
 RSS Feed
