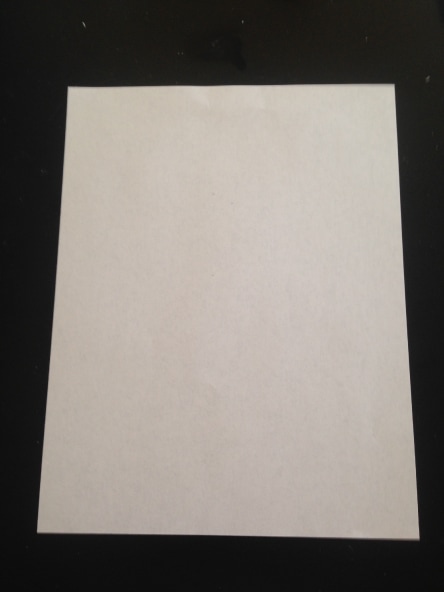
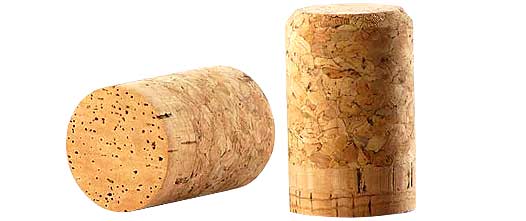
ProgressOut of all the projects I've presented to my audience, this project requires the most effort. However, the finished product is great and gives you a sense of accomplishment when finished. This project does require some more items, but they are not hard to find around your home. It does take a while to complete, but not too long. What you will need most for this project is commitment, time, and patience. Without further ado, here is how to make your very own travel sized checkers set! What You'll NeedIn detail: - one piece of printer paper (8.5x11in) - 13 corks - 2 colors of paint - 2 different colored coloring utensil NOTE: The 2 colors of the coloring utensil and paint must be the same. Step 1 (game pieces) The first thing you'd want to is cut each cork in half to have a total of 26 cork pieces. These corks will work as your game chips. They are the most efficient to play with because they are not too light nor to heavy and easy to find if one is lost. You will have one extra chip of each color in case one is lost. I advise the best way to cut them is by using a knife. Please be cautious while performing this task. It is best to have someone with control of a knife to do the task if you are unable to. Corks are the easiest thing to break, so please be careful!! Now that you have your 26 game pieces, you are going to paint 13 of them one color and 13 of the other color. I chose to do orange and a pink. After painting let the pieces dry for at least 1 hour; to make sure they are completely dry. Step 2 (game board)Then, while your chips are drying, it is time to make the checker board. This is where your paper and coloring come into play. What you'll need to do first is cut your piece of paper into an 8x8in square. Next, mark 16 1 inch squares onto your square paper. Now that that is done, you will need to color every other square a different color. Please feel free to look at my sample to make sure you did it right!:)  There You Have It! (Reflection) This is personally my favorite project out of all of them because it takes me back to elementary school where we would play board or card games inside during recess for rainy day schedule. I remember making a version similar to this when I was in 4th grade. Instead of using cork pieces as game pieces, I was able to mold may own pieces out of clay and have them harden in the kiln. Then once they were done hardening we then continued by painting each piece. I specifically remember that I chose red and blue and my two colors. We were fortunate enough to have our game boards laminated so that they wouldn't get as dirty. I decided to remake it because coming towards the end of junior year and senior year really makes me want to go back to elementary school. I of course made a more simpler and less complicated version of it because I do not own molding clay or a kiln. The items I used were easily accessible to me so the preparing process wasn't much of a struggle. This project doesn't have to be a one man job, many people can all work on it and have fun with it once it is complete. That is what it is for, to have fun with it! Also the coloring and painting makes the process even more fun because it'll remind us all of those good days when we were young. After I made this I decided to teach all of my 3 younger sisters how to play checkers. It was a great bonding moment between the four of us. I've been busy with school because of all the AP tests and other quizzes; so that time spent was especially special to me. I hope that once you make this project you too will date back to the days when board games were cool and everybody wanted to play them during school. Have fun with it! 
0 Comments
Progress"The struggle is real with these tangled earbuds!" Have no fear! I've got the solution for you! This is possibly the most affordable, easy, and useful DIY project that everyone needs to make! This earbud holder is a life saver. Anyone who owns a pair of earbuds could use one of these miracle workers. The process is simple and the result is far more important. I promise that there will be no regrets after making this project. 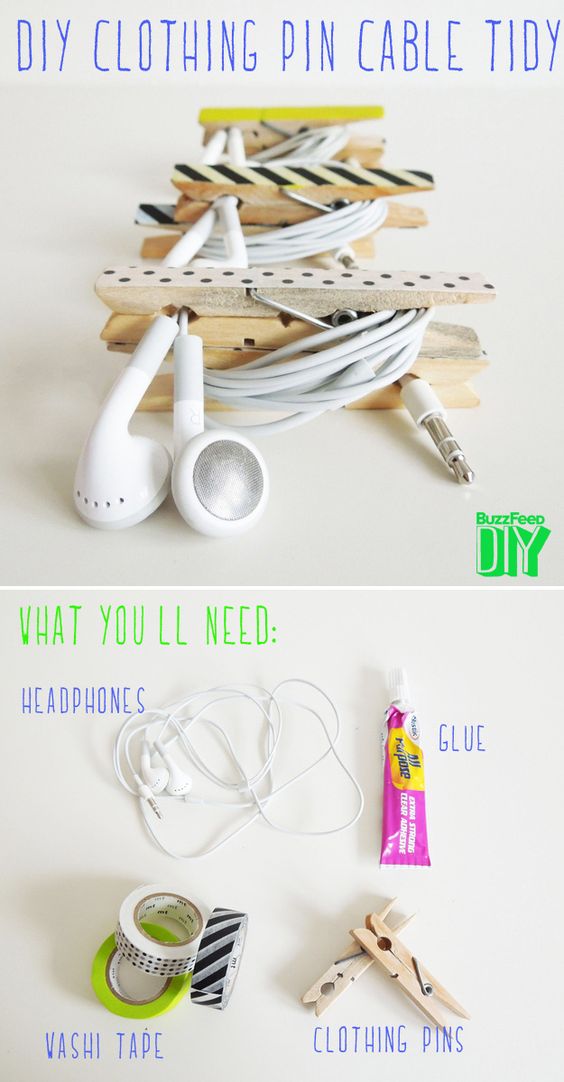 Just by looking at the image, one could easily make one! I decided to make my own copy of it to try it out. I found all of these items in 5 minutes! That proves how fast and easy this project can be.  Here are my two clothes pins that I decorated. Did you notice the floral tape from my last blog? This tape has become so useful to me while making these DIY projects for school! A fairly decent size of both of these types cost me a total of $2 at Target. Decorative tape can be found at any store, the tape with the best quality can be found at your nearest craft store. I simply taped one side of two clothes pins because then they will be glued together so that they stay intact and keep the earbuds untangled.
Reflection Honestly, this is possibly the most useful project that can become useful to everyone! We've all been there when our earbuds are tangled and we're struggling to untangle them. This project is simple and very affordable.
It's been about 5 days since I made this wonderful piece of art let me tell you, it's changed me. Before I used to throw my earbuds into my backpack or purse without knowing their conditions. Now, I know that they will always be ready for me to use. Getting them from my backpack has made it easier and convenient compared to when I didn't have this. Forget about those $7 dollar bendable wraps and other pricey "advanced" tech organizers. Get yourself your very own personalized one for less than $5!! Not only is it cheap, but it's easy to make and great quality. It is also a great way to organize your backpack or any other carry on accessory. Not to mention, clothes are not that large, so they'd perfectly fit in your pockets. What is so great about this project is that teenagers to adults can benefit from making it. It doesn't hurt to create something that could help with so much in the long run. Progress Welcome back to another fun DIY adventure! These next three blogs will feature fun, easy, and affordable projects that can be done right from your room. These projects are not based on a certain type of DIY, but more for everyday use and creativity. This first project can become useful to anyone with a phone! It's easy because almost everyone owns everything needed to make this phone stand. It's convenient and fun! There is no way that anyone could reject on how creative this idea is and how it can be accommodated to everyone's desires. As the Jackson 5 would say, "It's easy as one, two, three." Step 1
Step 2
Step 3
Step 4
Reflection I am very happy and amazed with the finished product. I've used it a couple times since I made it and it is really coming in handy. I use it to review my notes, Facetime, and other tasks where I'd have to use both of my hands but refer to my phone at the same time. Once it gets used a couple of times, the cardboard roll will start to give out and start collapsing at times. I will say that it is most certainly not the best quality stand, but it'll get the job done. A con about this DIY project is that a toilet paper roll most likely can't accommodate those with a plus sized phone. However there is a solution, instead of a toilet paper roll, one can use the longer tower rolls. Of course more tape and push pins will be needed in order to keep the entire roll stable. To some, this project could seem more girly than anything else. Although my example that I made does have floral tape on it, any style or printed tape can be used! It is the purpose of the project that can become useful to anyone. There are always those times when both our hands are busy, so this phone stand can solve those problems. MORE IDEAS!!Here is a link to several other DIY projects that are useful to all cellphone users!!
www.gurl.com/2016/05/07/diy-cell-phone-accessories-stands-holders-cases/ |
AuthorWrite something about yourself. No need to be fancy, just an overview. Archives
May 2017
Categories |


 RSS Feed
